Thursday, September 20, 2012
DIY Pottery Barn Lamp
My friend Brittany just did the coolest DIY, I had to share it with you guys. She has been eyeing this Pottery Barn lamp for some time, but was reluctant to spend the money. During a visit home, her dad helped her to come up with her own version, and it's amazing to me how much it looks like the PB lamp. She was nice enough to write up a tutorial for you guys....thanks Brittany!
~
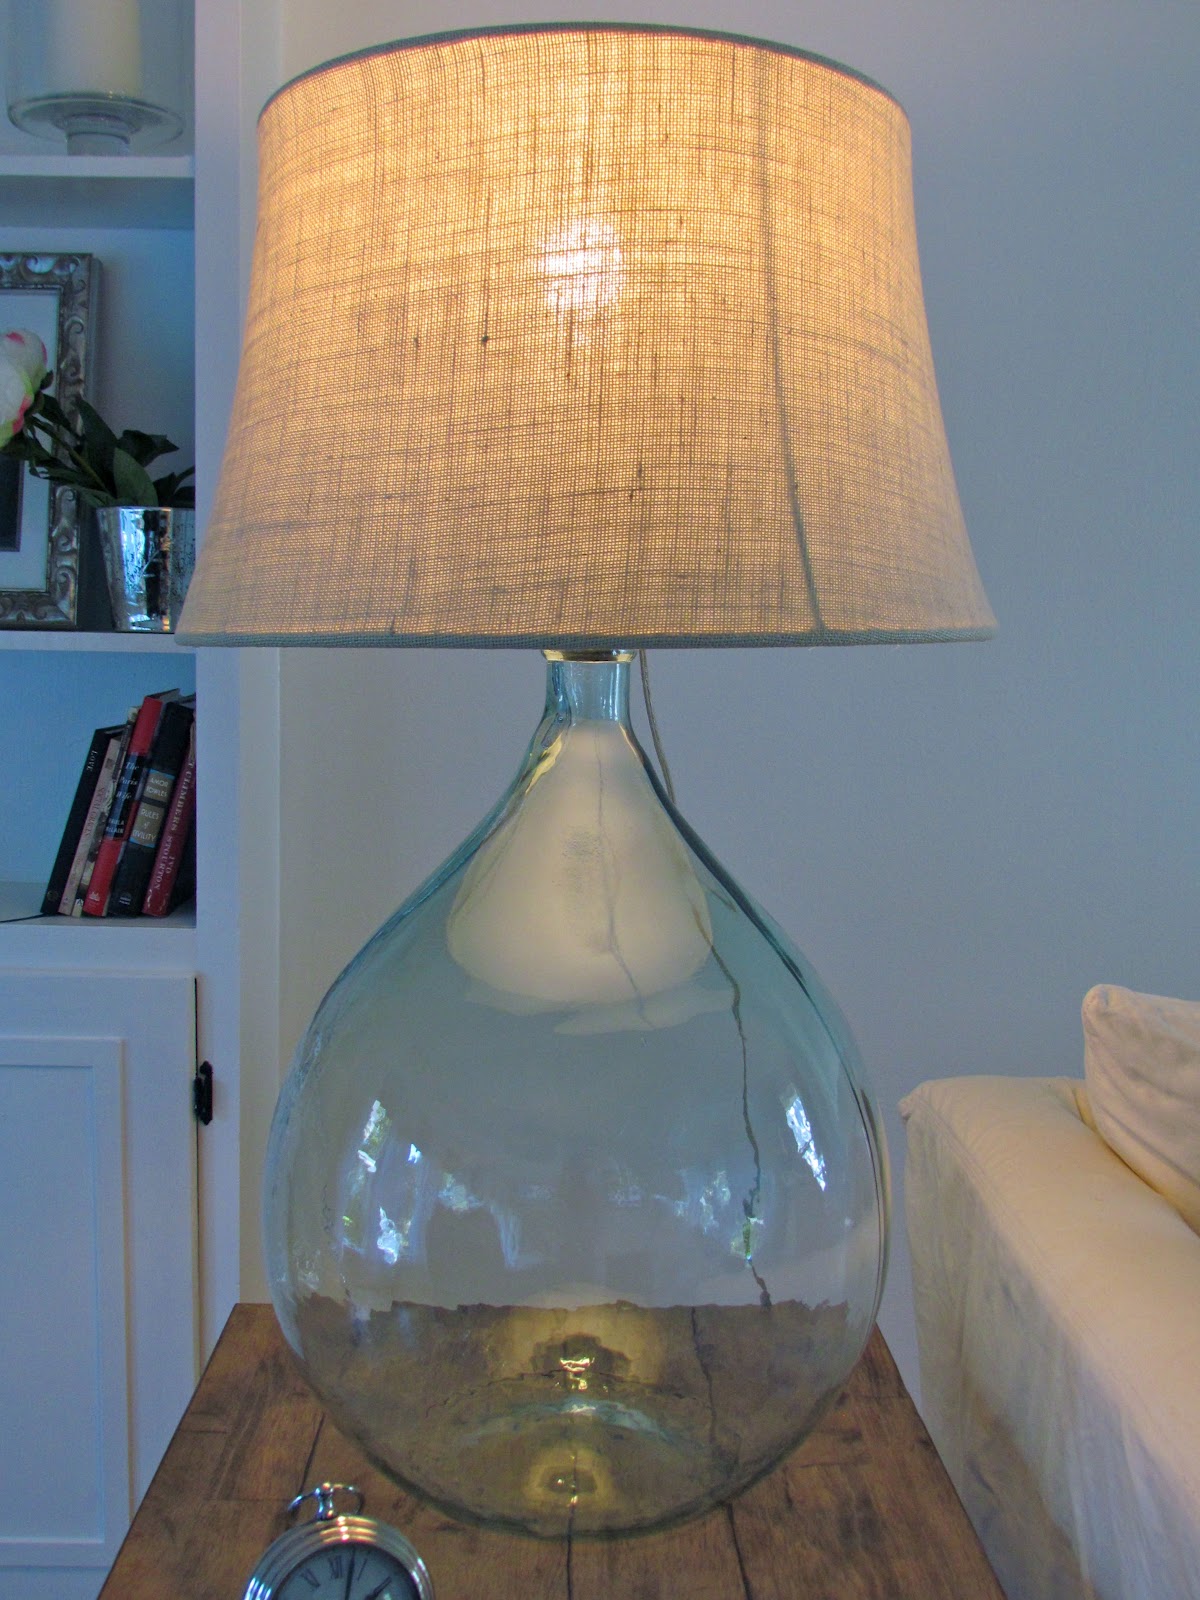
"As far as how we made it, we just bought a basic lamp kit at Lowe's. It came with a brown cord and since it would be fairly visible I bought a separate cord that was longer and clear so it would be less of an eye-sore. I also bought a smaller harp for the lamp because the one that came in the kit ended up begin too tall. You can buy all the lamp parts separate but the kit is a good start, even if you have to end up buying some supplemental pieces. We also purchased nipples that allow you to screw all the pieces together. These are found in the same section with the other lamp parts. The only color lamp parts I could find in the store were gold so I just spray painted them black. Easy. The part that you have to be a little creative on is how to attach the lamp parts to the vase. I'm sure there are a billion ways to do this but we used a pressure test plug for plumbing (purchased at Ace Hardware). They come in different sizes and adjust to fit snuggly in the mouth of the vase. Before we started assembling the parts we drilled a hole in the side of the plug for the cord to go through. After that we just assembled all the parts using the instruction on the lamp kit (YouTube also has some videos for how to put the lamp kit together). Then we topped it off with our shade of choice and that was it! I bought that particular vase at Pier One and the shade from Pottery Barn."


Subscribe to:
Post Comments
(Atom)
0 comments:
Post a Comment